The Rotofast line of acoustical panel anchors is the preferred industry solution for quick and secure installation of fiberglass core acoustical panels. There is a Rotofast product for any panel installation.
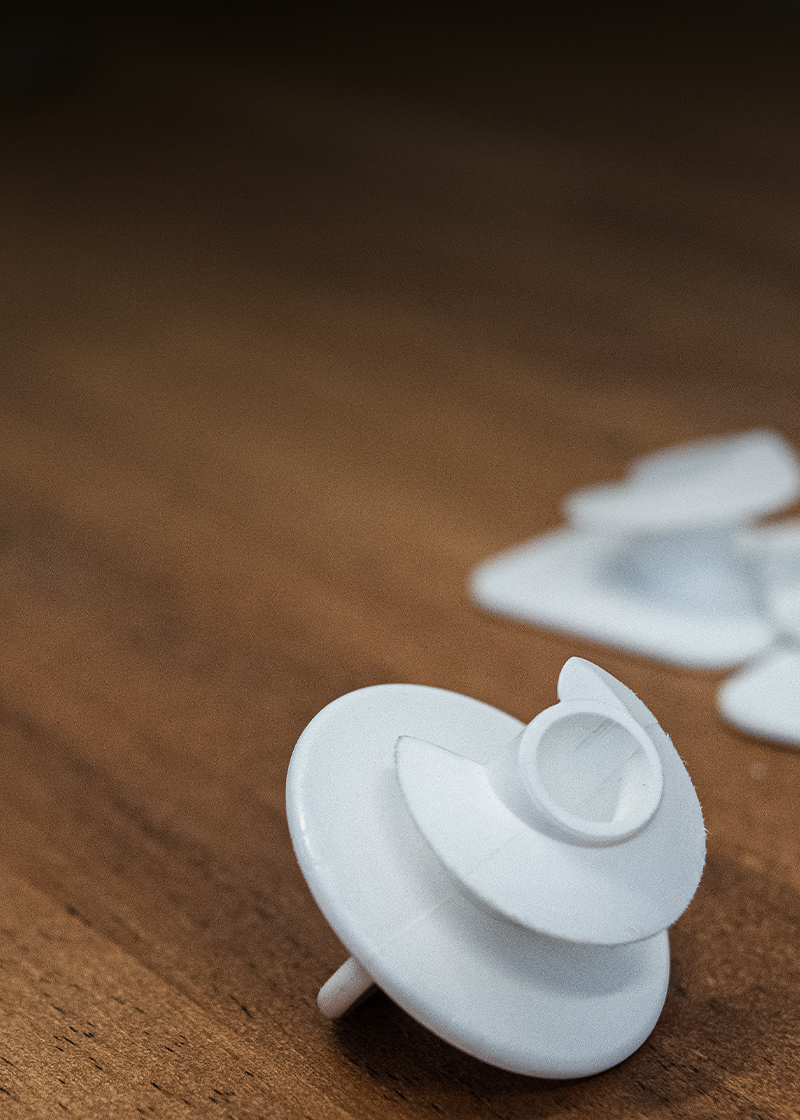
Now Available: Rotofast™ Polyester Panel Anchor
View Product
